All New
GPS ProAll New
GPS Pro
The Blue Original
GPS

All New
GPS ProThe Blue Original
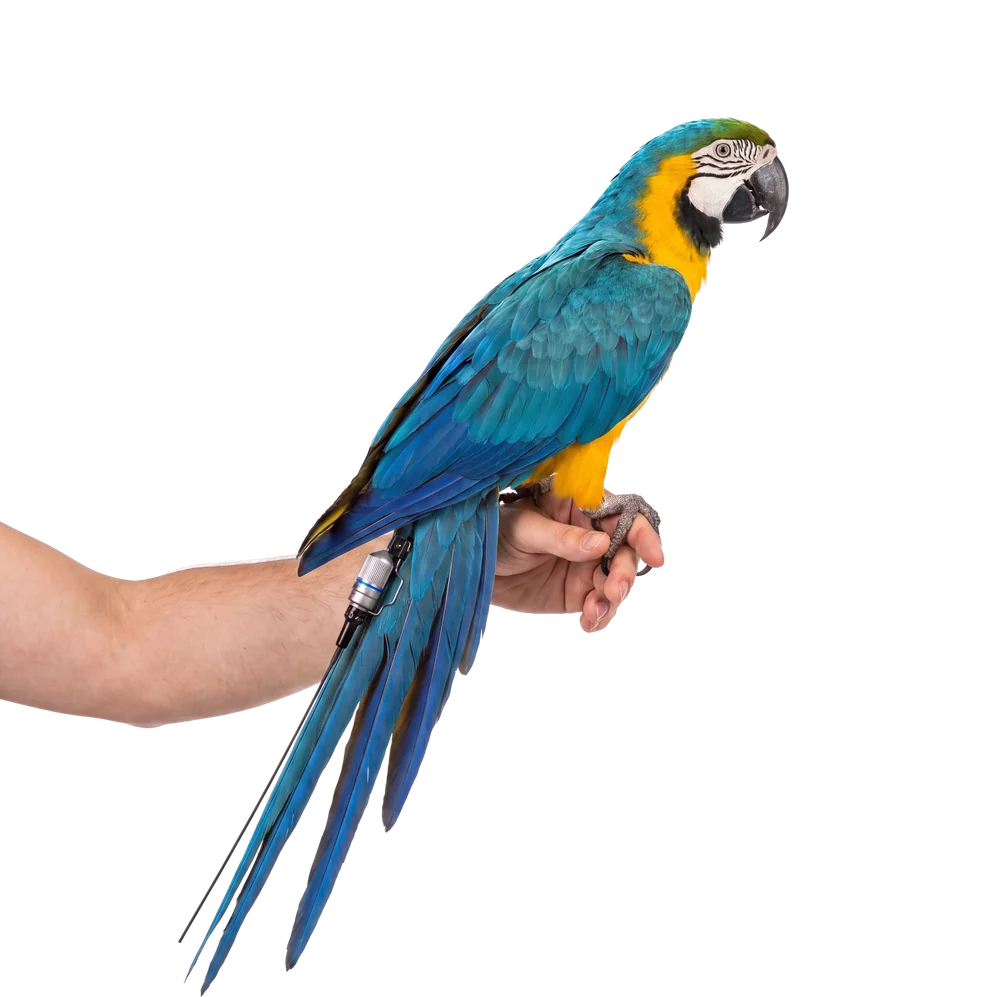
GPSDetermine which Deck feather will be the top one before beginning. Carefully work the coverts to one side to reveal the quill of the Deck and your target area. The quill is large above where the webbing begins but narrows quickly going lower. There is usually about 1/2 inch up or down that is an acceptable spot to choose.
The slots in the Tail Piece are designed to cradle the tail springs of the transmitter, so they need to be facing forward. Pre-load the Tool with the new Tail Piece, taking care to note which way the slots are facing (toward the bird's head, not the tail). Center the Tail Piece in the Tool and bring it down onto the tail feather using the tool instead of your hand.
Hold the Tool vertical to the flat feather at a 90 degree angle. The closed Tool is elliptical in shape, intended to match the dimensions of the feather. Give it a gentle squeeze until you feel one side collapse, then the other, but not all the way. At this stage it is snug but not tight and can still be adjusted. Make any last adjustments and then apply the Tool once more for the final crimp.
Practice inserting the transmitter's tail springs into the mounted spare and practice removing it again. The springs of Marshall transmitters have a pre-bent cant to them laterally so that they follow the bend of the feather and lay flat against the feather when mounted. Squeeze the springs together and move the transmitter forward to make the tiny hooks clear the Tail Piece and cross over each other in order to be removed.
If adding a small drop of epoxy to the Tail Piece, have it mixed and ready. Use a toothpick to apply it to the insides of the Tail Piece and minimize the risk of getting any on the feathers. Most people nowadays do not use epoxy, since there are small ridges machined into the inside of the Tail Piece that effectively bite into the quill and hold it firmly once crimped.