جديد كلياً
GPS Proجديد كلياً
GPS Pro
الأزرق الأصلي
GPS

جديد كلياً
GPS Proالأزرق الأصلي
GPSOwner's manual. GPS systems
How to start the GPS system
Follow these steps in order. After the first setup, the phone and the PocketLink connect again on their own.

Download AeroVision7 from the App Store (iPhone or iPad) or from Google Play (Android).
Turn Bluetooth on.
Open AeroVision7.
Allow location. After the introduction you see a map. The red dot in the center is the phone or tablet.
Turn on the PocketLink. Tap the power icon with the magnetic wand.
In AeroVision7, tap the Marshall icon at the upper left. That opens Settings. Tap the PocketLink serial number at the top of the menu to connect.
Go outside, with open sky. Install the battery in the GPS transmitter. Watch the light. The sequence is listed below.

Watch the light after you install the battery.
Blinks green. The battery is accepted. The transmitter is waking up.
Solid green. It is starting up.
Orange. It is searching for satellites.
Blue. GPS is acquired. This takes 2 to 3 minutes.
Tap the Marshall icon at the upper left for Settings, tutorial videos, the flight log, and system adjustments.
Tap the live statistics to choose what you see. Smaller phones show up to 2. Larger phones and iPads show up to 4.
Swipe right for broadcast, map orientation, and target lock.
Swipe up for transmitter statistics. Tap them to enlarge the direction arrow and the distance.
Swipe left to record a flight. A green track is Economy mode. The screen may show the letters ECO. A blue track is High definition. The screen may show the letters HD. Press and hold the transmitter circle to change modes.


Short videos are near the top of the Settings menu, so you can watch them in the field. Watch them more than once as you learn the system. The same videos are on marshallradio.com.
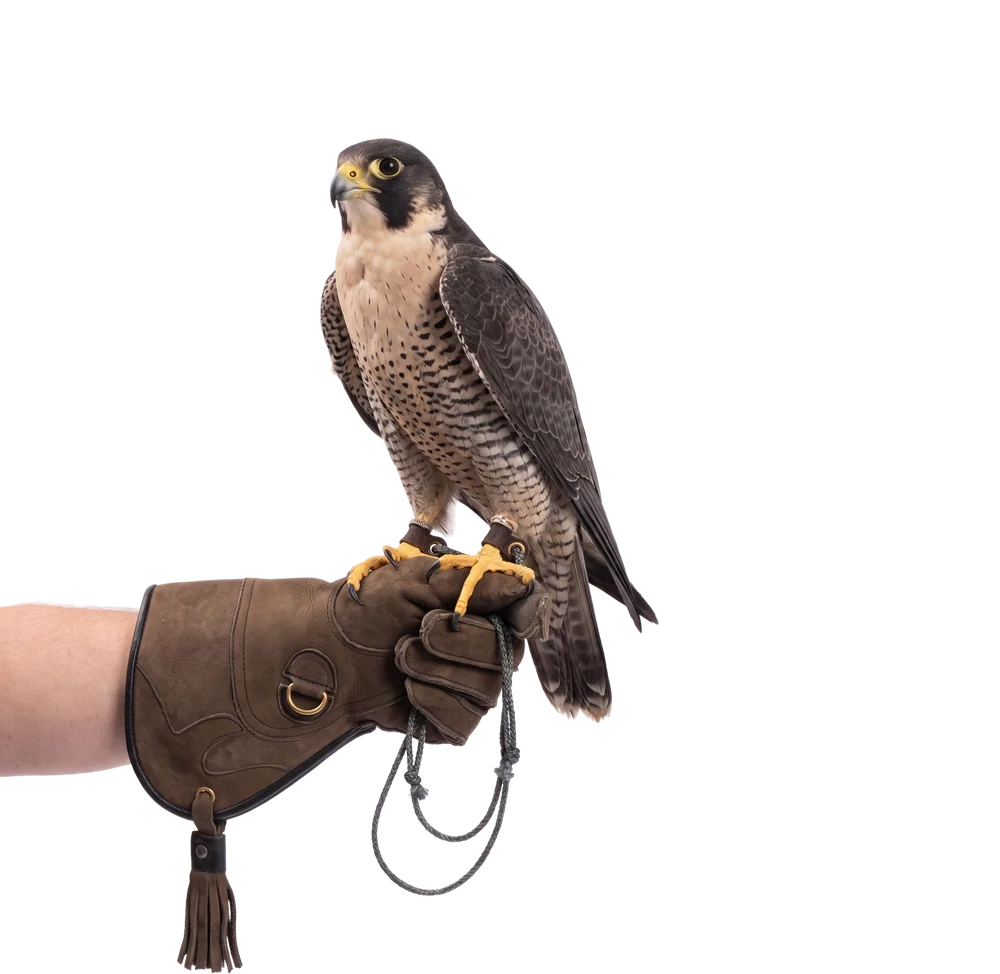
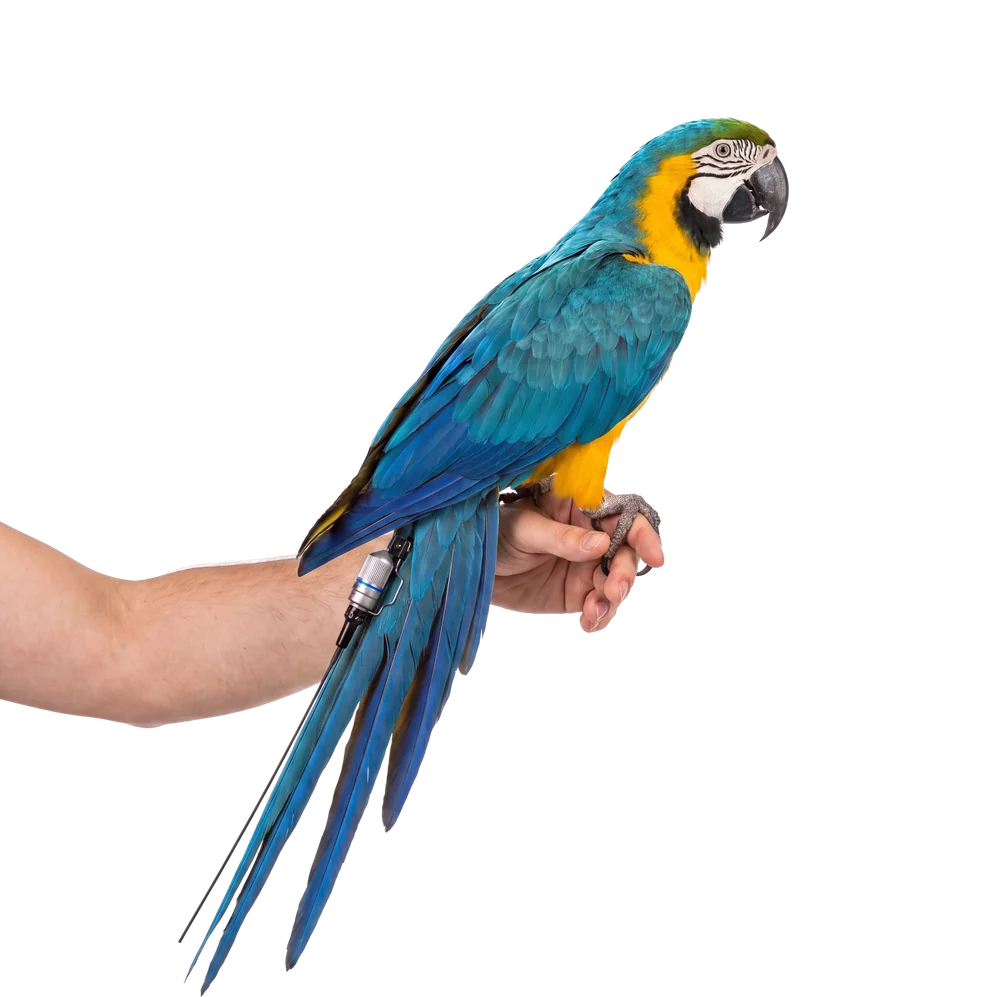
Use the mount that matches the hardware on your transmitter. These photos are from the Marshall site.


Every transmitter ships with a tail spring. Take the spring off for a leg mount. Keep the spring so you can change back to a tail mount or a TrackPack later.

Untwist the antenna protector.
A blue washer holds the spring. Pull the spring and the washer down the antenna. Wiggle them until they come free.
Put the washer and the antenna protector back on.
Save the spring for a later tail mount or TrackPack.
iPhone 6 and newer.
iPad Air and newer, and iPad Mini generation 2 and newer. Cellular models only. The GPS chip is in the cellular version. A data plan is not required.
You need the internet only to download maps. Do that at home before you leave. Newer phones and tablets respond faster, especially with more than one transmitter.
Join the AeroVision GPS Support Group on Facebook. It is a closed group. Have your serial numbers ready.
Work down this list. Stop when the system behaves as it should.
The light never turns green. Take the battery out. Put in a fresh cell with the positive side toward the lid. Screw the lid on with your fingers until it is tight.
The light stays orange. You do not have open sky. Move outside, away from buildings, cars, and thick cover. Wait 2 to 3 minutes for the light to turn blue.
The PocketLink is not in Settings. Turn Bluetooth on. Tap the power icon with the magnetic wand. Open Settings and tap the serial number at the top.
The map has no red dot. Allow location. On an iPad, use a cellular model. A data plan is not required.
A leg-mount part is missing. The blue washer and the antenna protector go back on the antenna. Keep the spring so you can return to a tail mount or a TrackPack.
A green blink means the battery is accepted and the transmitter is waking up. Solid green means it is starting. Orange means it is searching for satellites. Blue means GPS is acquired. That takes 2 to 3 minutes. When the light is blue, the transmitter is ready.
Take the battery out. Put in a fresh cell with the positive side toward the lid. Screw the lid on with your fingers until it is tight.
You do not have open sky. Move outside, away from buildings, cars, and thick cover. Wait 2 to 3 minutes for the light to turn blue.
Turn Bluetooth on. Tap the power icon with the magnetic wand. Open Settings and tap the serial number at the top.
iPhone 6 and newer. iPad Air and newer, and iPad Mini generation 2 and newer. Cellular models only. A data plan is not required. You need the internet only to download maps.
Untwist the antenna protector. Pull the spring and the blue washer down the antenna. Put the washer and the protector back on. Save the spring.